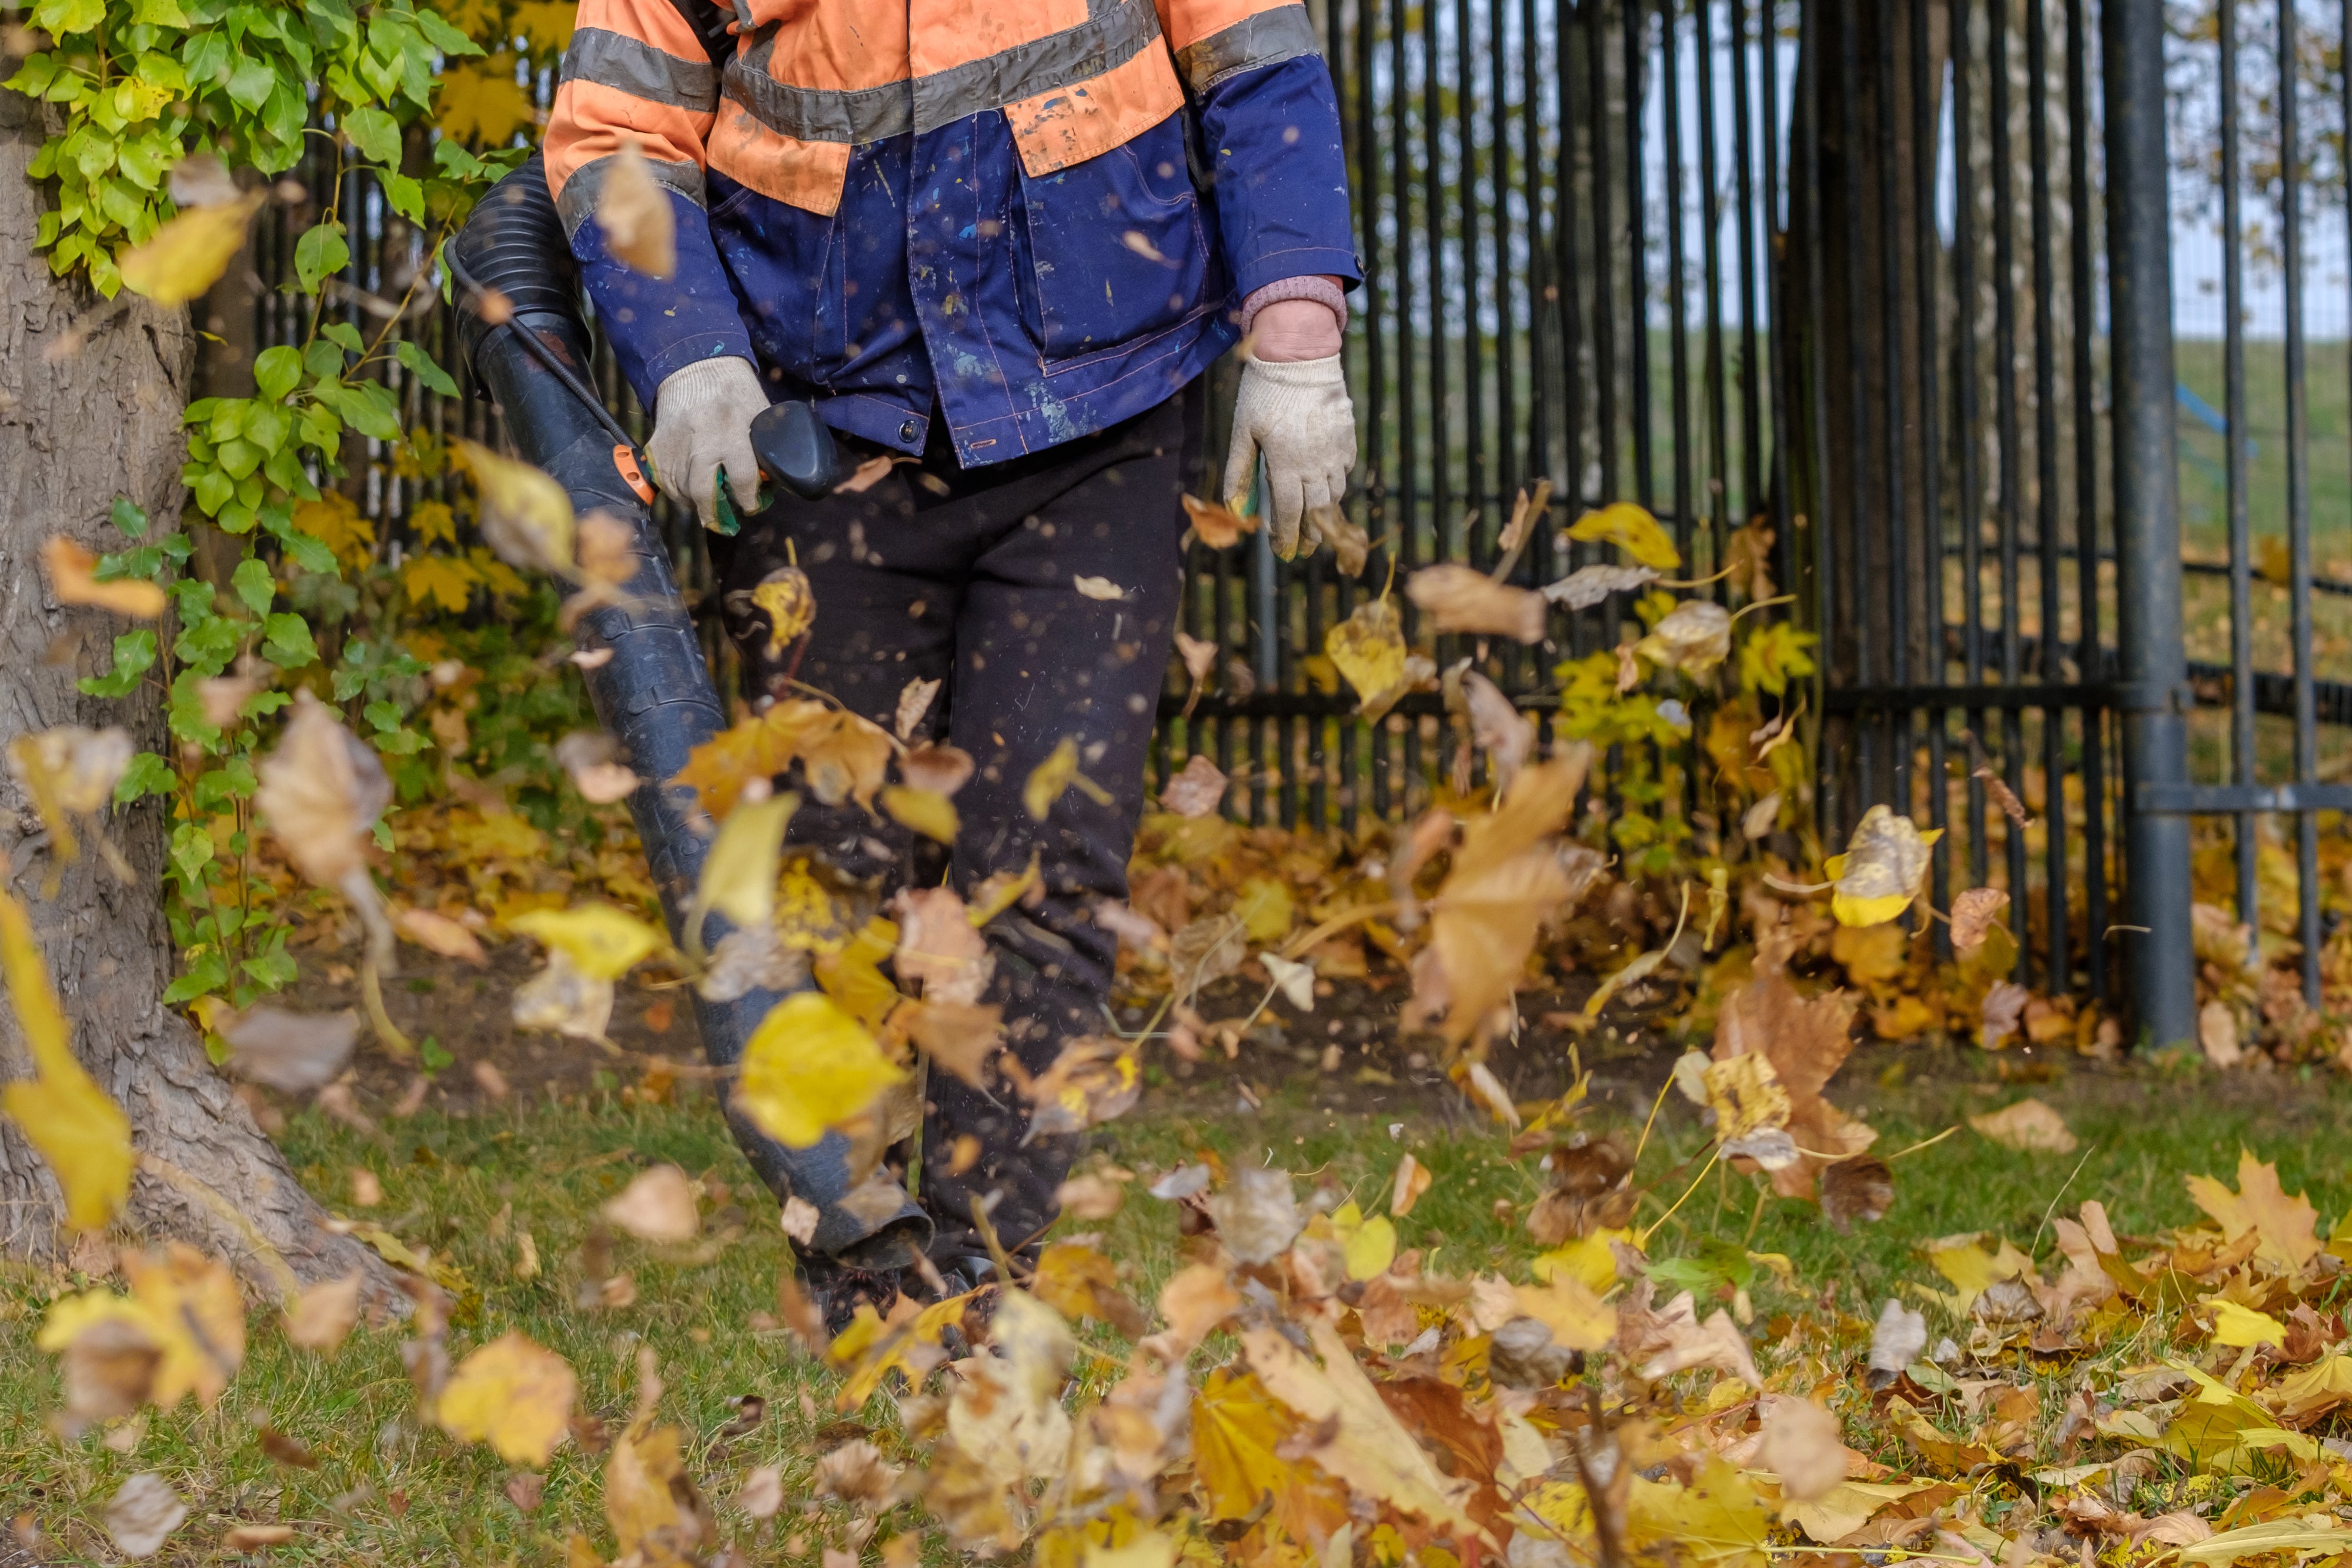
Leaf blowers make all our lives easier. Whether gathering dried autumn leaves, blowing away snow, dirt, or debris, a leaf blower can significantly help you out. However, there are times when we just leave our leaf blowers in storage.

When your commercial leaf blower has been sitting in storage for a while, you may experience some problems starting it or need new blower parts. Knowing the common signs is the best way to know what to do if your leaf blower won't start and what to look for if you’re doing a leaf blower repair yourself.
Inspect the spark plug during the leaf blower repair
The engine needs enough spark inside the cylinder to start your leaf blower. However, if the spark plug is damaged or dirty, it won’t be able to produce enough spark to start your leaf blower. It is why regular leaf blower maintenance and routine checks are needed to avoid more costly leaf blower repair.
If you haven’t replaced your spark plug since you bought it and your leaf blower is having a hard time starting, it is best to check your leaf blower and change your spark plug. The good thing is replacing your spark plug is pretty straightforward.
What you need:
- Replacement spark plug
- Socket wrench

Pro tip: Take the old spark plug to the store to get the right-sized spark plug.
Steps to leaf blower repair:
- Remove the engine cover: Depending on the design of your leaf blower, you will need to remove the engine cover. Some leaf blowers don’t require you to remove the engine cover.
- Remove the spark plug wire: Twist or pull back the spark plug boot gently to remove it.
- Loosen the spark plug: With a socket wrench, loosen the spark plug. Turn your socket wrench counterclockwise.
- Install the new one: Place the new spark plug in the hole where you removed the old one. Turn clockwise until it fits the hole. Tighten and secure the new spark plug by using the socket wrench.
- Reconnect the spark plug boot: Reconnect the spark plug boot.
- Turn on your leaf blower.
Suspect a clogged carburetor during a leaf blower repair
The carburetor is the one responsible for pumping air and gas to your leaf blower’s engine. If it is damaged or clogged, the leaf blower will not start.
Carburetor doesn’t easily get damaged, but it can get clogged often. That’s why you need to clean your carburetor regularly. To clean your carburetor, you need a specialized carburetor cleaner or WD-40. Remove all residue and particles blocking it. Try starting your backpack leaf blower again or do another set of leaf blower repair. If the issue persists, continue troubleshooting.

If the clogging is too much, it is best to replace the carburetor.
The common cause of clogged carburetors is when old or stale fuel sits in your gas tank or engine for a long time. If you are going to store your backpack leaf blower or go for a leaf blower repair, I recommend draining all the fuel inside the tank and engine. It will prevent any clogging in your carburetor or damage to the engine.
Check the recoil starter when you’re doing a leaf blower repair
The recoil starter includes a rope and spring-loaded pulley system. There are instances where the recoil starter fails to engage even when the rope is pulled, signaling the engine to start.
If the pull rope is damaged or tangled, you can easily replace the cord with a new one in your leaf blower repair.
How to Check the Recoil Starter
- Before replacing the pull rope, check your user manual first. It will make it easier for you to locate where your recoil starter is.
- Once you know the location, untangle with a pair of pliers, remove the pull rope from the starter assembly, and then the pull handle.
- Insert the new pull rope into the hole in your recoil pulley, then a knot to ensure it will not be pulled inside when pulled.
- Wind the new rope in the same direction as the old one.
- Pass the new rope through the hole in your recoil starter housing, then attach the pull handle back at the end of the rope.
- Lastly, reassemble your commercial leaf blower.
Old fuel left in your leaf blower during repair
One of the most common causes of why your backpack leaf blower won’t start is the presence of old and stale oil left in your engine. If your backpack leaf blower won’t start or won’t stay running, there is a possibility of old fuel left in its engine.

The fuel can start to go bad after 30 days. Yes, gas also goes bad. So, if you have some fuel you bought last autumn, it is best not to use them for your backpack leaf blowers.
Lucky for you, it is very easy to drain the leftover stale fuel in your leaf blowers.
How to replace the old fuel in your tank
- Locate the main fuel line by removing the spark plug wire. It is connected to your fuel tank and easy to locate.
- Remove the lid on your fuel tank to release the pressure build-up inside.
- Prepare a bucket.
- Remove the main fuel line which is connected to your carburetor.
- Point the fuel line into the bucket so that the remaining stale oil will drip into the bucket.
- Drain the fuel tank into the bucket. You can tilt the leaf blower to help in this process.
- Make sure there is no remaining stale fuel inside the gas tank.
- Remove the air filter and find the screw at the bottom of the carburetor.
- Prepare a bucket and start loosening the screws.
- After draining both the gas tank and carburetor, it is not time to reconnect the fuel line to the carburetor.
- Tighten the screws located at the bottom of the carburetor.
- Reconnect the air filter.
- Lastly, refill your gas tank with properly and thoroughly mixed fuel.
Check for gas-oil mix during your leaf blower repair
Gas leaf blowers run using fuel. This fuel is a gas and oil mixture that should be properly and thoroughly mixed. The ratio of gas to oil differs depending on the manufacturer of your leaf blower. To know the exact ratio, check the owner’s manual included when purchasing your gas leaf blower.

If your backpack leaf blower has a two-stroke engine, you will have to mix gas and oil. But if you are using a four-stroke engine, you can just use straight gas.
With two-cycle engines, if the fuel is left inside the gas tank or gas line for a while, there is a big possibility that the gas and oil may begin to separate. You need to drain your engine. Follow the steps above for draining leftover or stale fuel.
If you have a sitting gas and oil mixture and want to use it, give it a good shake. Make sure everything is thoroughly mixed before transferring it into the gas tank of your backpack leaf blower.
And before adding any mixture of oil and gas to your leaf blower, make sure to read the instruction manual of your product model. This will ensure you avoid any leaf blower repair from adding the wrong gas or oil.
Fix a broken rewind spring during a leaf blower repair
You can check if your recoil starter is the problem by pulling the rope. If the rope doesn’t retract, it means the spring is broken. To fix a broken or damaged rewind spring, you need to replace the whole recoil starter assembly.
How to fix the broken rewind spring
- Find the spark plug wire and remove it from the spark plug.
- Remove the housing just like how you replace the pull rope.
- Unwind the pulley. It is very important. You should release the tension from the spring, or it will shoot outward when the damaged or broken recoil starter is removed.
- If there are screws holding the pulley in place, remove them.
- Flip the recoil starter housing. Make sure it is pointing downwards, away from your face.
- Gently tap the recoil starter housing on a sturdy table, and it will fall out with the spring.
- Place your new recoil starter inside the housing. Make sure the spring is placed correctly and fits when on its slot.
- Attach and tighten all the screws.
- Try pulling the pull rope to make sure the spring is working properly.
- Put the starter assembly back in its place inside the leaf blower.

Check for a blocked filter during a leaf blower repair
Gas leaf blowers need both fuel and air to work perfectly. In order to provide clean air without any particles shooting through, the backpack leaf blower is designed with an air filter. However, if you constantly use your backpack leaf blowers in a dusty environment (which is normal), chances are there are a lot of particles stuck on your air filter.
How to fix a blocked air filter
If you need to check or replace your air filter, you can follow these steps:
- Get your handy screwdriver.
- Remove the air filter housing by turning the screws holding it in place, counterclockwise.
- Remove the air filter by pulling it out from the housing.
- Place a new air filter.
- Place the air filter housing back to its place.
- Secure it by tightening the screws. Don’t put too much force when tightening the screws because they are usually made from plastic and can easily be damaged.
A backpack leaf blower is a handy and powerful tool that will make your job easier. Just like any power tool, it needs proper maintenance and care. Regularly checking your leaf blower from Schröder USA can help extend its life.

Share:
How Does a Leaf Blower Work?
The Most Ideal Gas-oil Mix Ratio for a Leaf Blower